
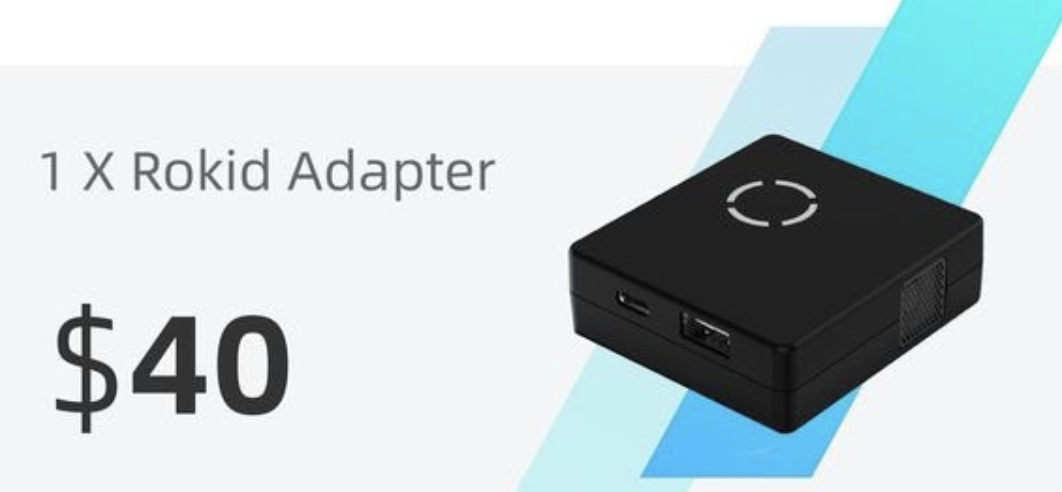
We recently received a Rokid Air and after playing with it a bit, we learned something about the adapter that can be purchased separately.
When you first plug in the adapter to the glasses, a screen eventually pops up. It lists the WiFi SSD (Lollipop-something), the password and the IP address. After connecting your iOS device to the adapter’s SSID, you can go open Safari and go to the IP address to open the adapter’s web app.
That web app will give you a number of options:
WiFi AP
Media Control
and Settings.
Choosing WiFi AP, you can scan for other WiFi networks. After pressing Scan, I was able to choose our office WiFi and type in our password. After pressing Connect, the adapter restarted and grabbed an IP from our router.
Once it is connected to your network and your iOS device is back on your own WiFi, iOS sees it as an AirPlay device, which allows you to cast your media as it would on an AppleTV or Roku. It’s pretty slick!
Media Control allows you to have quick access to play/pause, Previous Track, Rewind, Stop, Fast Forward and Next Track. It also has volume buttons, which is nice as it starts out at high volume.
Settings will allow you to change between 2.4Ghz and 5Ghz networks.
The device also seems to have OTA capability, so maybe an Over the Air update will add ChromeCast ability!